Drone 1-2-3
| Projects | |
|---|---|
| Participants | Cyberdutch |
| Skills | RC planes, Arduino |
| Status | Active |
| Niche | Electronics |
| Purpose | Fun |
Contents
- 1 Drone 1-2-3: An autonomously flying wing glider
- 2 Feb 16, 2015 - R/C equipment tested - Check!
- 3 Feb 24, 2015 - Planned test flights (R/C) & Flying sites
- 4 March 17, 2015 - Some real world flying (R/C) - Check!
- 5 April 5, 2015 - More R/C flying, Starting with the ArduPilot hard/software & Ordering more parts
- 6 Putting the parts together
- 7 The next step
- 8 Aug 18, 2015 - Oops! One step back
- 9 A new plane battery for extended flights & ordering solar cells - Check!
- 10 Sep 10, 2015 - Testflights using only basic hardware components
Drone 1-2-3: An autonomously flying wing glider
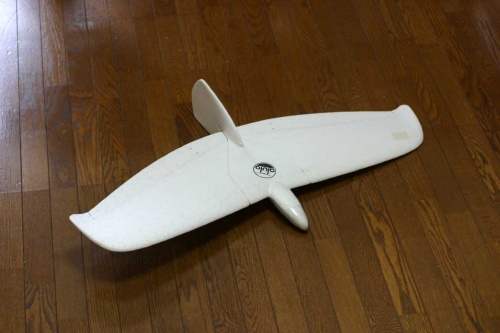
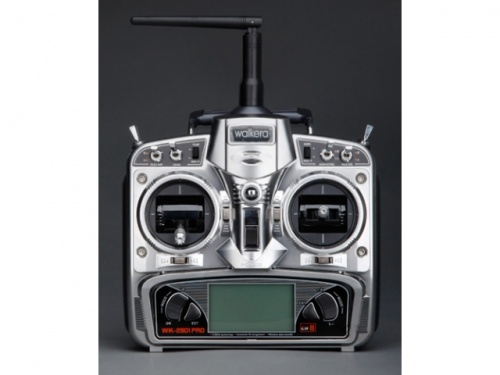
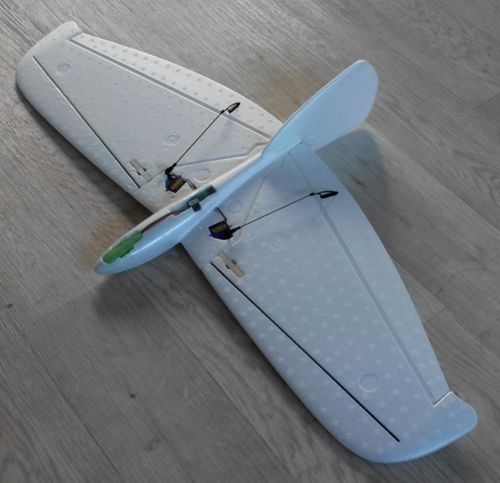
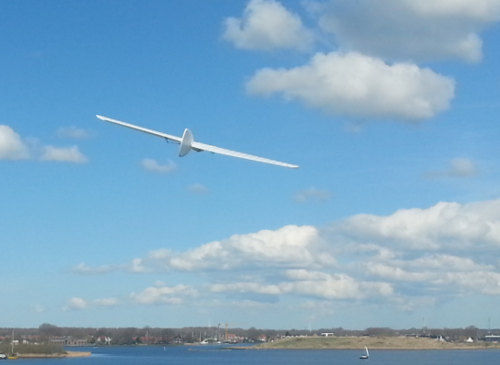
Drone 1-2-3 is a glider drone based on the Alula urban flying wing (parts already there), a Walkera WK-2801 PRO R/C (in my attic) and an Arduino based auto-pilot for stabilization and navigation.
The idea is to create a drone that can fly without any direct human intervention. Like the Indian surveillance drone that wanders the skies for years in Christopher Nolan's 2014 Sci-Fi film Interstellar.
vimeo.com: Drone Chase This is the scene where Cooper and his children, Tom and Murph, set out on a chase after this Indian drone.
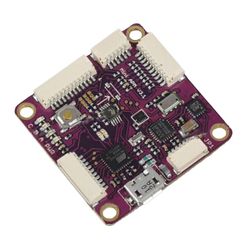
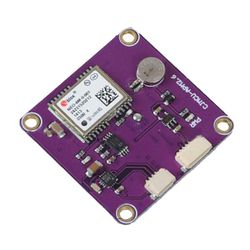
So far the only parts that needed to be ordered were: A Mini APM v3.1 (ArduPilot 2.6) and an external compass/GPS (Ublox NEO 6M GPS HMC5883L). Total costs: Less than 47 euro, including (free) shipping and (delivery free of) taxes.
Steps in this project:
1. Build the plane (trim and fly)
2. Make it remotely controlled (R/C)
3. Teach it to fly autonomously
The secondary goal of this project is: Extended flight time (longer than a day?).
The coexisting primary goals are planet domination, colonizing of space and sheer fun.
Feb 16, 2015 - R/C equipment tested - Check!
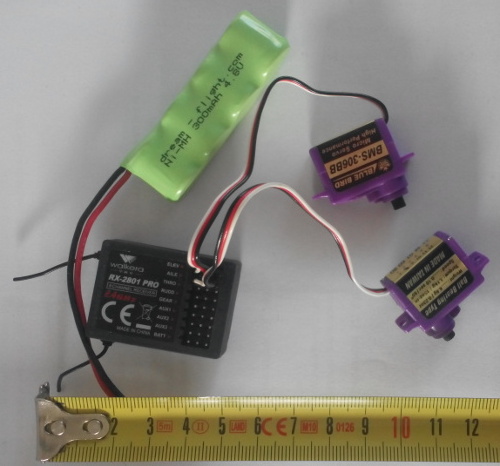
After not using it for 5 years, the Li-Po battery pack of the transmitter was showing no signs of life anymore. Luckily, I found an AA battery holder for 8 cells to replace it. For the time being that will do.
The (less critical) Ni-MH receiver battery was still in good condition. I charged/discharged it a few times and it holds approximately 286mAh x 4.8V (which is okay for an advertised nominal capacity of 300mAh).
Everything was connected, switched on, binded, and worked fine :-)
Specs Walkera WK-2801 PRO transmitter:
8-channel, 2.4G, output pulse 1100-1900Ms (1500 neutral)
100mW (10mW default) output power
230mA current drain
12V (8x 1.5V AA)
Specs Walkera RX-2801 PRO receiver (9.23g):
8-channel, 95dbm sensitivity, frequency interval >=4M
receiver battery (29.65g)
4.8V 300mAh (4x1.2V) Ni-MH
Specs micro Blue Bird BMS-306BB servos (2x 6.91gr):
torque 1.1kg/cm, speed 0.10sec/60deg
Feb 24, 2015 - Planned test flights (R/C) & Flying sites
Drone 1-2-3 is now ready for some flying tests.
I plan to start teaching the drone to fly autonomously only after thoroughly being tested and tuned. It should have proven stable flying characteristics in R/C controlled mode.
Drone 1-2-3 is controlled by ailerons (roll) and elevator (pitch) combined in a 2-servo delta wing setup. Roll and pitch are mixed electronically: One servo drives the left wing control surface and one servo drives the right wing control surface.
Suitable flying sites are scarce in Holland. But there are some promising places.
For park flying: Near the Sloterplas, Amsterdam
For slope soaring not far from Amsterdam: Zaandam (De Belt) or Haarlemmerliede (Mooie Nel)
For excellent slope soaring in the Netherlands: Zeeland (Zoutelande) (with south-west facing dunes of 30-50m high). This flying site is over 2hrs from Amsterdam, but with a season-discount-ticket from the NS the distance is (money wise) only 16 euros for a return ticket
vimeo.com: Highest dunes in the Netherlands The Dutch dunes in Zoutelande and Schoorl stand taller than 50m. Still very modest, compared to Big Daddy in Namibia, which measures a whopping 325m.
March 17, 2015 - Some real world flying (R/C) - Check!
After adding 15.74g lead to the nose, it was time for some real world flying!
Adding the lead was necessary in order to move the center of gravity forward to its proper spot near the leading edge of the wing. Later the lead can be replaced with batteries or other functional stuff. The total flying weight of the plane comes now to 158g. At a wing area of 16.7dm2, that implies a wing loading of 9.46g/dm2. The wing span of Drone 1-2-3 is 90cm.
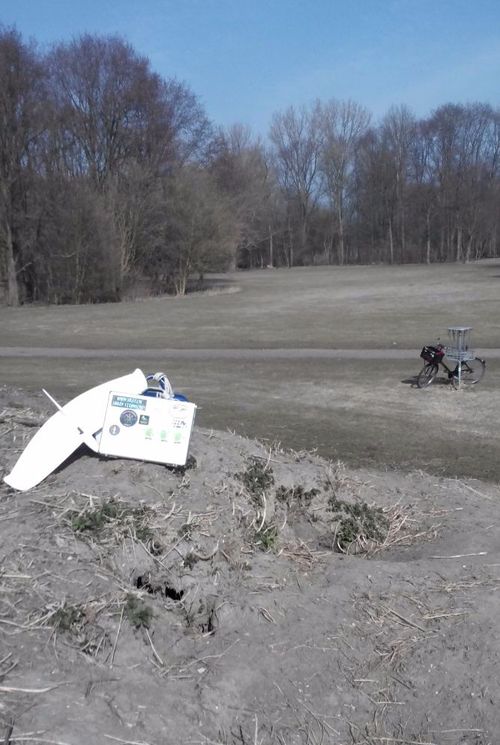
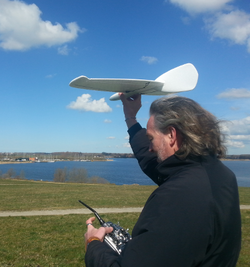
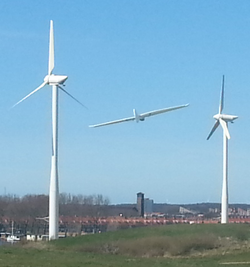
Today in light spring air, Drone 1-2-3 made its maiden flight from the small slope near the Sloterplas.
First few radio-controlled flights were somewhat challenging. But after the Drone's pitch was properly (electronically) trimmed, flying became a breeze. I didn't need to drive the plane all by myself anymore. Drone 1-2-3 showed stable flight characteristics, and steering inputs were accepted and processed well without revolting.
April 5, 2015 - More R/C flying, Starting with the ArduPilot hard/software & Ordering more parts
More R/C flying
Today Drone 1-2-3 was flown at 2-3 Beaufort (5.5-19.7 km/h) northerly winds from the Mooie Nel hill (25m high) in Haarlemmerliede.
Starting with the ArduPilot hard/software
With R/C flying working well it was time to start working on teaching Drone 1-2-3 to fly autonomously.
The Mini APM v3.1 (ArduPilot 2.6) and the external compass/GPS board (Ublox NEO 6M GPS HMC5883L) needed the following hardware modifications:
> Mini APM v3.1 - Disconnecting jumper 1
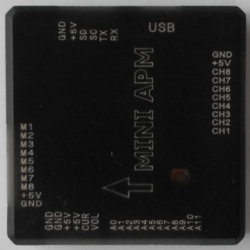
To disable the (buggy) internal compass on the main board (Mini APM v3.1) it is needed to disconnect jumper 1 (JP1). The jumper connection was broken with a small hobby knife. After that, the main board was put back in the protective case that came with it.
> External compass/GPS board - adding a 3.3V connection
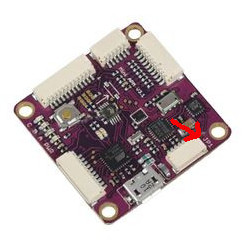
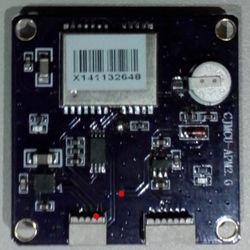
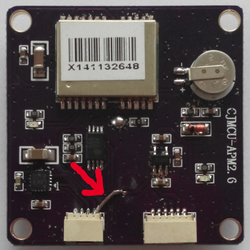
To make it possible to power the external compass, the fourth (most right) pin of the connector for the compass on the external compass/GPS board was wired to an embedded wire on the circuit board itself to connect it to +3.3V. The insulation can be scraped off the circuit board with a knife. After that, it requires some precise soldering (PCB size is 36mm x 36mm!).
The correct location on the circuit board (to connect to +3.3V) is best seen by enlarging the left picture, which shows the embedded circuit wiring best.
> Mini APM v3.1 - installing firmware
After the hardware modifications were done, ArduPlane firmware was installed at the Mini APM v3.1:
First, Mission Planner software was downloaded and installed on a desktop computer and from there off ArduPlane v3.2 firmware was uploaded and installed onto the Mini APM. After finishing this, its on-board LEDs confirmed a correct install :-)
Detailed instructions for installing the firmware and working with Mission Planner can be found at the ArduPilot website.
Ordering more parts
The standard main board (Mini APM v3.1), which will be mounted near the center of gravity of the drone, carries the following sensors:
- 3-axis gyro (an Accelerometer that measures the acceleration forces electronically along its axis)
- Magnetometer (to support the gyro - combined data are filtered to get a more precise result)
- Pressure altimeter (Barometric pressure sensor)
The external board, which will be mounted in the wing of the drone at some distance from the receiver and servo noise, carries:
- Compass
- GPS (Ublox NEO 6M GPS HMC5883L)
Since it seems useful for Drone 1-2-3 to have information about airspeed (avoiding stalls) and battery state (extended flights) on top of the flight information which is available standardly, the following extra parts were ordered this week:
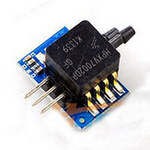
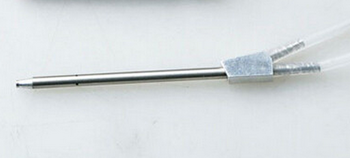
- Airspeed meter with splitter tube (compares the pressure of air blown in the pitot tube and static air)
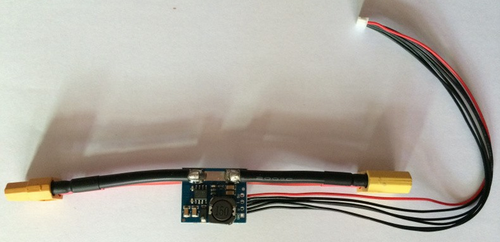
- Power supply module with (BEC) 5V regulator (also senses current and battery voltage info)
At a cost of 35.40 euro including shipping for these two parts (most of it consumed by the nifty airspeed meter), the total amount of money spent on the Drone 1-2-3 project is 82 euro so far.
Putting the parts together
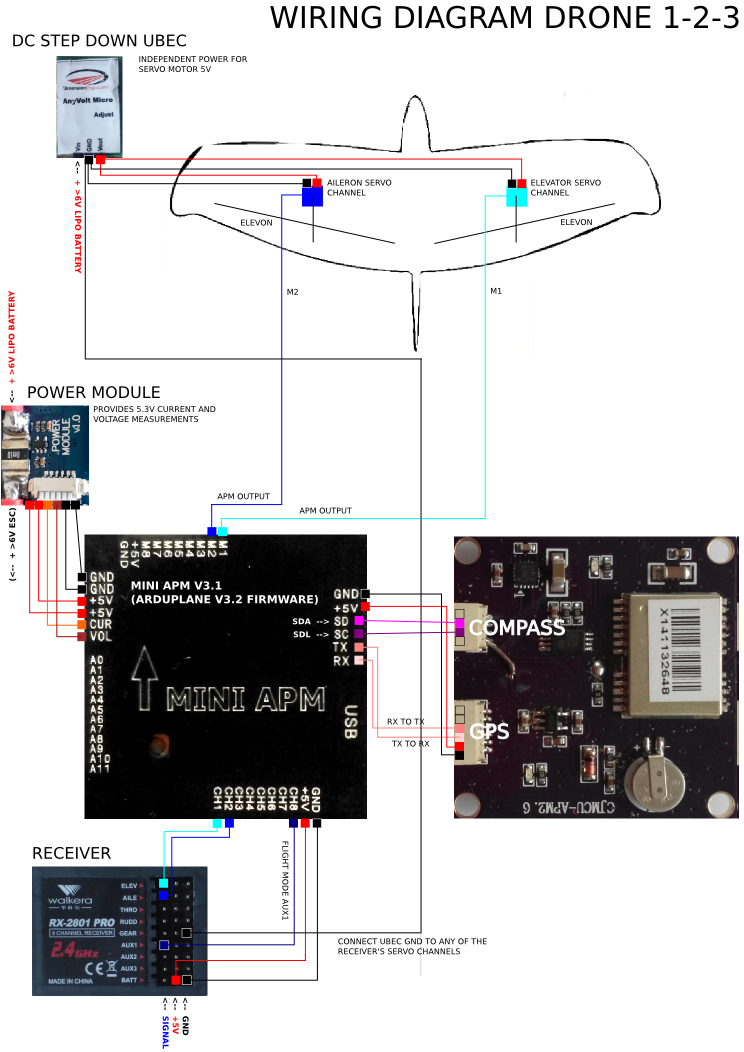
Except for the Airspeed meter, all the separate hardware parts have been put together and were transferred into one single nervous system. Now, the parts are successfully communicating with the Mission Planner software, with the RC transmitter, and with each other.
The next step
When embedding the hardware into Drone 1-2-3's wing is finished, the project will move from indoor hardware centered to outdoor software centered.
The main focus will be on scripting and testing autonomous flying.
Aug 18, 2015 - Oops! One step back
When the Walkera transmitter and receiver are switched ON, the two do pair/bind as expected. But, often the transmitter-receiver combination becomes unstable after about half a minute for a few seconds. Then, it recovers, but leaves the auto-pilot system (APM and GPS/Compass) in a permanent confused state. It looks as if this problem has to do with an excessive power drain during these seconds.
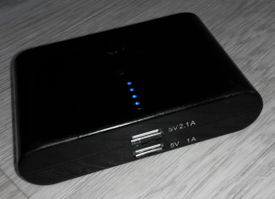
After reconnecting and testing the hardware several times using only basic hardware components (no compass or GPS), I found a quick and dirty solution. If the Mini APM is fed from an independent power source during its "unstable seconds", it doesn't become permanently confused anymore.
A day saver: an old USB External Powerbank Battery for a cellular phone
Now that things are working fine and can be kept that way by carrying an USB powerbank in my flight-box, I decided to continue flying and testing Drone 1-2-3 for a while using the current very basic hardware setup.
So, what are the consequences of this compass-less and GPS-less approach for autonomously flying?
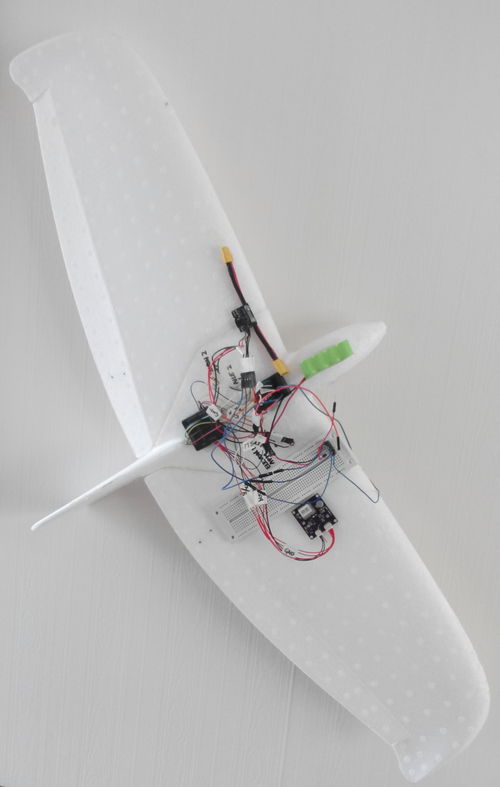
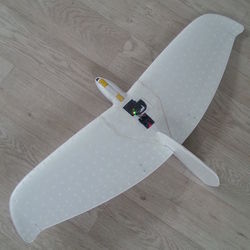
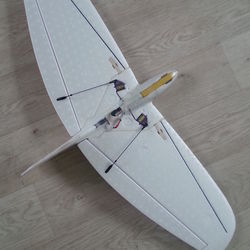
Top and Bottom view in current hardware setup
For stabilization, this is not much of a difference. The 3-axis accelerometer of the APM handles flight behavior fine. And, even without a compass, Drone 1-2-3 holds direction in an acceptable way.
For navigation, that's a different story. Its map-orientational skills are comparable to those of my mother-in-law without a TomTom. Without GPS it definitely needs some form of manual guidance.
A new plane battery for extended flights & ordering solar cells - Check!
In a further stage, I plan to have Drone 1-2-3 re-charging its on board battery by solar cells during daylight. To accommodate future flights longer than twenty-four hours, Drone 1-2-3 also needs to carry a battery that holds enough juice to keep it alive during the night.
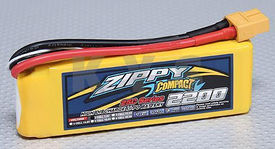
To make this possible, the standard 300mAh 30g 4.8V Ni-MH receiver battery was replaced by a Zippy 2200mAh 91g 7.4V 2s LiPo battery. I tested the new battery and it holds approximately 1740mAh x 7.4V. This is nowhere near the advertised numbers, but it is still expected to have capacity enough to keep things running until the next morning.
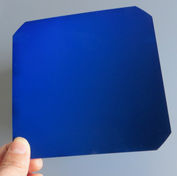
Also, I ordered some flexible Malaysian A grade C60 Monocrystalline Silicon SunPower solar cells.
They were delivered in Amsterdam for 3.15 euro per cell. If we (could) trust the manufacturer's specs of 21.8% efficiency, 0.6V and 3.3W per cell, these highly efficient cells come at less than 1 euro per Watt.
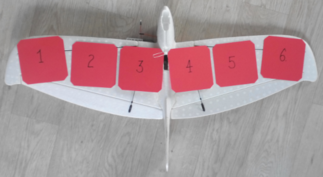
4 of these 125x125mm cells can easily be placed onto top of the plane's wing. With some modifications, 6 cells could be squeezed in.
I will bench test a setup with 6 solar cells. Power wise 4 might do, but when 6 are put in series one can expect the output voltage to be well above 2V continuously. This gives reasonable efficient voltage step-up posibilities to bring the voltage up to the needed maximum during charging of 4.2V for charging one LiPo cell at the time.
The on board Zippy 7.4V LiPo has two 3.7V cells (2s). My idea is to charge LiPo-cell-1 for a very short period of time, then (disconnect and) switch to LiPo-cell-2 for about the same time, then back to LiPo-cell-1, and keep repeating the process. By keeping track of the voltage per cell, the battery can be balanced at the same time.
>> Ideas for the solar charger circuit are welcome! will at! cyberdutch.com
>> I found some affordable applicable step-up regulators. But further than that, it's only a concept.
Sep 10, 2015 - Testflights using only basic hardware components
Last week many testflights were done in the basic hardware setup of Aug 18. In this setup, the new plane battery for extended flights is already replacing the old receiver battery and some previously added lead. The total weight of Drone 1-2-3 is now 181g.
Points of departure
All flying is done in Fly-By-Wire mode: The Drone 1-2-3 is completely on its own for stabilization. R/C equipment is solely used for navigation purposes and for occasional adjustment of airspeed.
Without touching the R/C transmitter, the on board APM will continously check for any change in atitude and if necesasary it will correct imediately by moving:
1. Ailerons (roll...); to move the wings back where they belong; perfectly aligned with the horizon.
2. Elevator (pitch...); to move the nose back where it belongs; so that the fuselage follows the proper preset glide angle, and hence the proper accompanying airspeed.
In this setup there are two input channels that we can use on the transmitter. The throttle stick, that I assigned to speed adjustment, and the "roll" stick that is used to change heading.
The throttle stick can only move forward, backward and vice versa, and is the only stick that has no spring or tendency to move towards a neutral position. Normally it controls the engine RPM. At Drone 1-2-3 it is used to adjust its glide angle in degrees, and this way it indirectly controls its airpeed. Throttle position (airspeed) is set before take-off. During flight we have a posibility to alter or fine-tune this.
The "roll" stick can only move from left to right and vice versa, and automatically jumps back to a neutral position when letting go. Normally it controls the ailerons. In our case it controls the turning ratio. If not touched, the plane will keep flying its current heading. If moved (completely) to the left, the plane will bank its wings to the left at an angle of ... resulting in a constant turn ratio (degrees/sec). It holds this ... banking position until we let the stick go. The stick jumps to neutral and the plane will allign its wings with the horizon again. This works the same for right turns.
More on speed control and stalls
Drone 1-2-3 is a project run in collaboration with Almere hackerspace Sk1llz
